
Before we get started – You’ll need the following:
• SOLIDWORKS Login or 3DEXPERIENCE Login. If you do not have one, check out our post on Creating a SOLIDWORKS Account.
• Verify System meets SOLIDWORKS requirements. https://www.solidworks.com/support/system-requirements
• Local Administrator account access.
Downloading Installation Files
- Log into the SOLIDWORKS Support Download page https://www.solidworks.com/support/downloads

- Scroll down (if necessary) and select Download, on the version you wish to download. If you need a previous version, you can select the dropdown. SOLIDWORKS allows downloads for the previous 3-4 major versions. If you need a version older than that, contact us to request it.
Note: Network licenses are backwards compatible. It's recommended to update to the latest version possible, even if your clients are on an older version. A server activated on say, 2026, can hand out licenses for 2025, 24, and so on all the way back to 2007 (although, a 20-year gap is not recommended).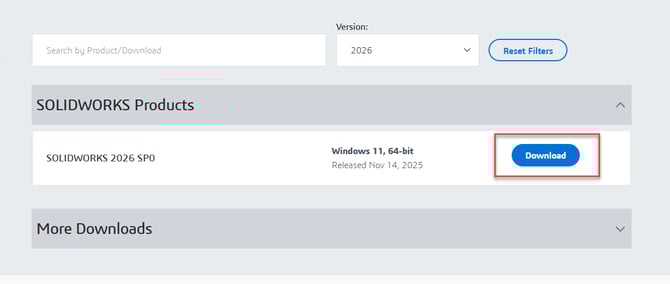
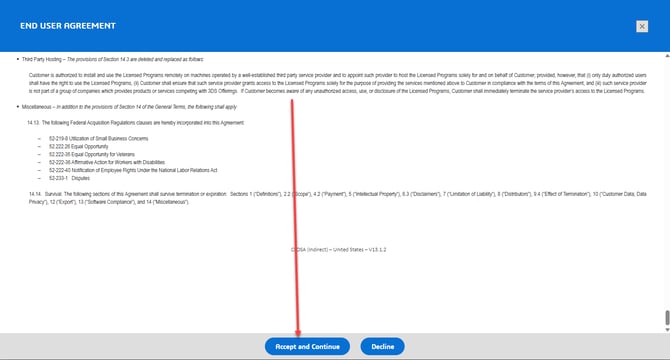
- Scroll to the bottom and accept the Customer License Agreement
- Locate SolidWorksSetup.exe (This will typically be in your Windows “Downloads” folder) Right click on “SolidWorksSetup.exe” and choose “Open” or Double click to launch

- Choose where to extract the files. Be sure to check “When done unzipping open:” to auto launch the Installation Manager

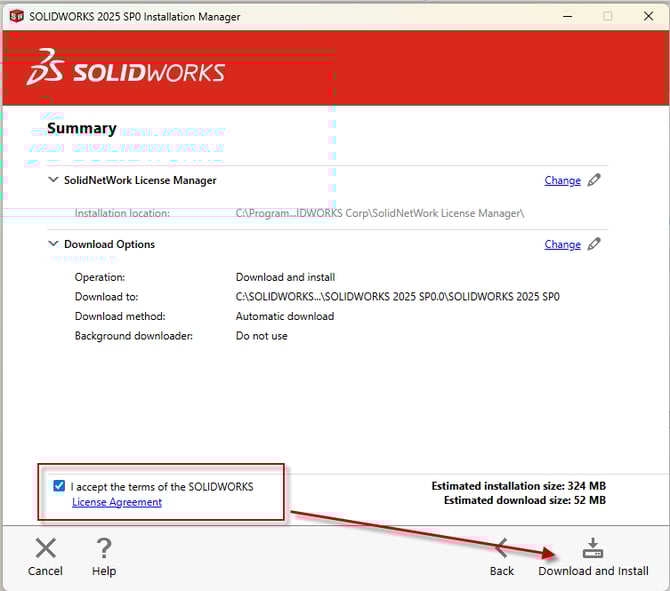
- Choose “Install SolidNetWork License Manager

- If all looks correct on the Summary, accept the License Agreement and select “Download and Install”
- Installation is complete. Please choose if you would like to join the SOLIDWORKS Customer Experience Improvement Program.

Activate the SolidNetwork License Manager Server
- Launch the SOLIDWORKS SolidNetwork License Manager Server from the Start Menu.

- If not prompted to activate, go to the Server Administration Tab, choose Modify, and then Activate/Reactivate. Take note of the server name and port number. If there’s a firewall on the server, be sure to check the box and leave the default port number. Click Next.

- You will be asked if you want to activate over the internet or through email. It is recommended that you choose Automatically over the Internet.
- Once the process has completed, a dialog box will appear with the result Activation/Reactivation Succeeded. Click Finish.

Note: As of 2022, all licenses must be activated yearly. Take a note of your reactivation date, and ensure that it's reactivated before then to reduce downtime.
Not working like it should? Place a case here and a support rep will reach out!