
There are many things that you can do to help SOLIDWORKS run faster. Especially with large assemblies, physically modeling or rendering physical threads on screws - potentially hundreds of them - will eat up a significant amount of resources with no benefit to the user.
Replacing these physical threads with cosmetic threads is an easy and efficient way to reduce load and render time. It can also simplify the process of mating your hardware to the other parts in your assembly.
Applying Cosmetic Threads
-
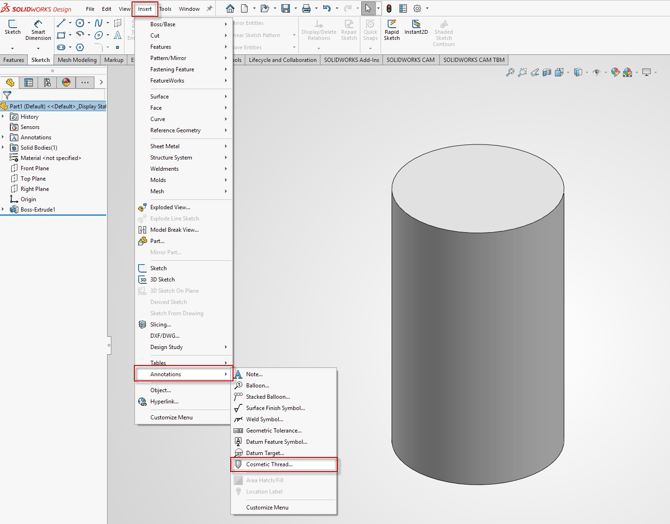
In order to apply Cosmetic threads, you can navigate to Insert > Annotations > Cosmetic Threads.
-
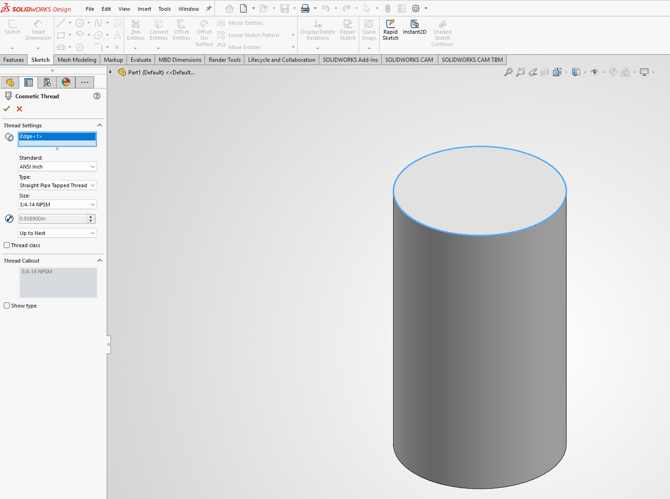
On the next screen, select the edge you want to use as the reference for the threads, and the thread specifics.
Troubleshooting Cosmetic Thread Appearance
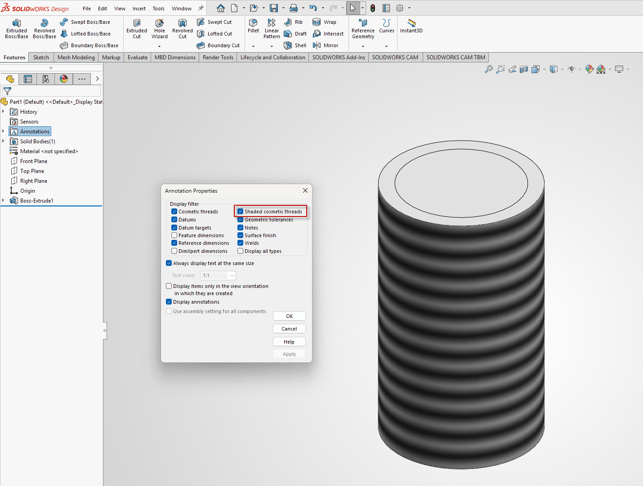
Cosmetic threads have two main ways that they can appear when applied. They can be denoted by a faint circle, or they can also have a shaded approximation around the surface that would have the threads present. It is also possible that even with cosmetic threads applied, they do not show. There are several settings which can affect the appearance, be sure to check them all.
-
To change the appearance of your cosmetic threads, right click on the Annotations folder and select Details. In the Annotation properties window
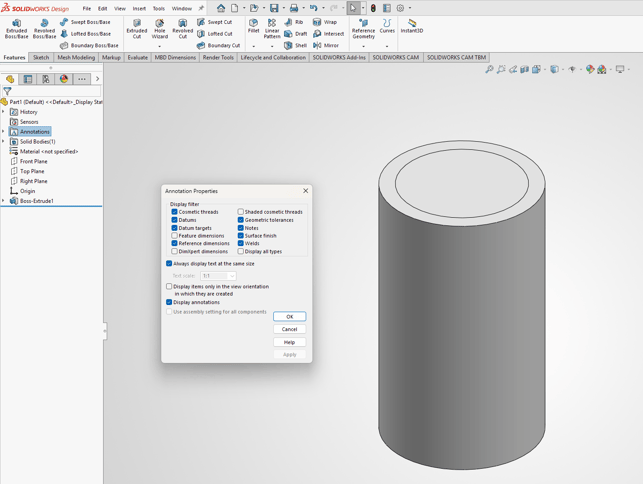
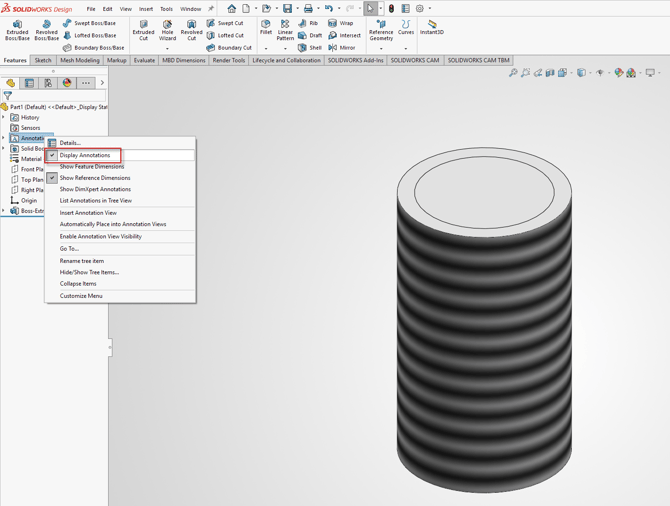
- Another setting to verify is right click the Annotations folder again and ensure that Display Annotations is checked.
- The last place to check if things are not displaying correctly is to navigate to View > Hide/Show > All Annotations. Ensure that this option is selected.

Not working like it should?
If things are still not displaying as expected, or you encounter any other issues, let us know and we are here to help.
If you have an existing case, please contact the Application Engineer you are working with; otherwise submit a new case online.