
This can cause unexpected behavior when you want to treat the copied component as a normal SOLIDWORKS part—for example, when adding it to SOLIDWORKS PDM as a unique manufactured or purchased component.
SOLIDWORKS provides the Set Document Property utility (sldsetdocprop.exe) for changing this designation. SOLIDWORKS specifically identifies this utility as the tool used to set, clear, or check the Toolbox property on part files.
A common situation is:
Toolbox Part → Copy Part → Modify Part → Use as a unique company part
Even though the copied file is no longer located in the Toolbox folder, SOLIDWORKS may continue treating it as a Toolbox component because the internal Toolbox property remains set.
Removing the flag tells SOLIDWORKS that the file should now be treated as a regular SOLIDWORKS part.
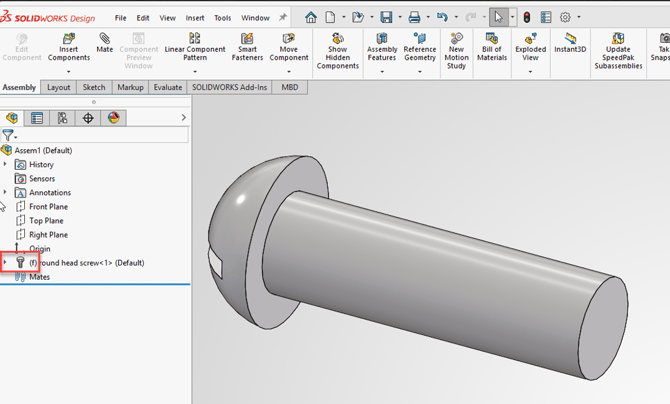
1. Close SOLIDWORKS.
2. Open:C:\Program Files\SOLIDWORKS Corp\SOLIDWORKS\Toolbox\data utilities\
3. Run sldsetdocprop.exe (as administrator).
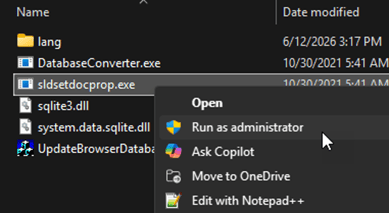
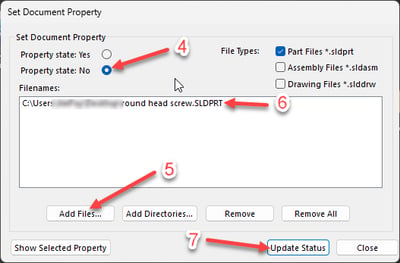
4. Set Property State = No.
5. Click Add Files.
6. Select the copied .SLDPRT file.
7. Click Update Status.
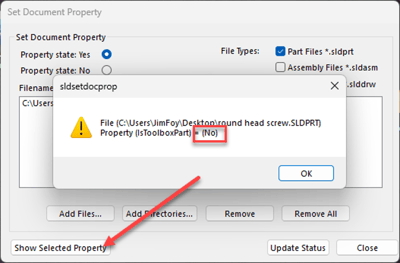
8. Use Show Selected Property to verify the change.
9. Reopen the part in SOLIDWORKS.
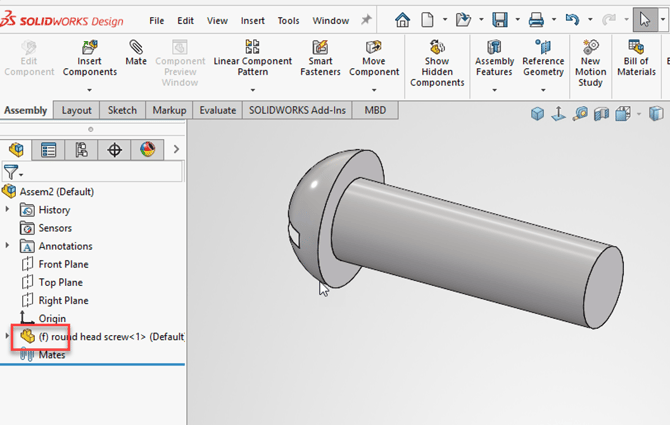
Now the part no longer has the toolbox icon.