
If you have a SOLIDWORKS Design License through the 3DExperience Platform, the standard installation process looks a little different from what you might be used to with the old Standalone and Network licenses. With those methods, installing an add-on with another serial number is fairly straightforward. You just add the add-in serial number while you’re putting the serial number for SOLIDWORKS in.
But Cloud licenses go through Roles, not Serial Numbers, and so lack that “Add serial numbers” installation step. Not to worry, you can still add additional serial numbers to your Cloud license regardless. It just requires a slightly different approach.
Unfortunately, there is no way to edit the existing installation of a Cloud license copy of SOLIDWORKS Design. So if you already have 3DExperience installed, you will need to uninstall it and add the serial numbers as part of the reinstall process.
I would recommend that you save your settings before doing so, if you want to keep them.
To create a backup of your SOLIDWORKS settings:
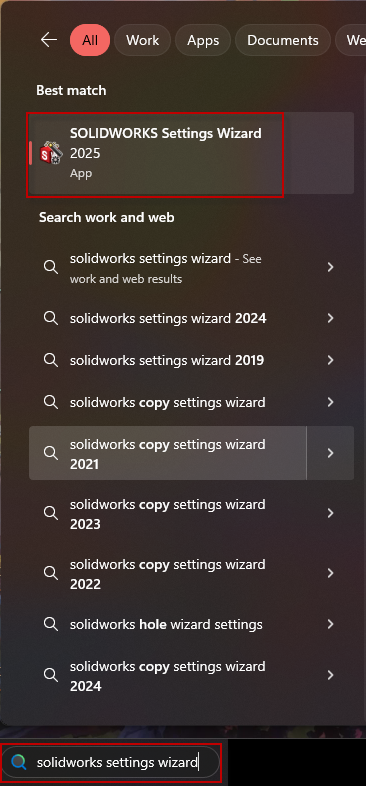
- Go to the Start Menu, type SOLIDWORKS Settings Wizard, and launch the program of that name with the correct year of SOLIDWORKS you are about to uninstall.
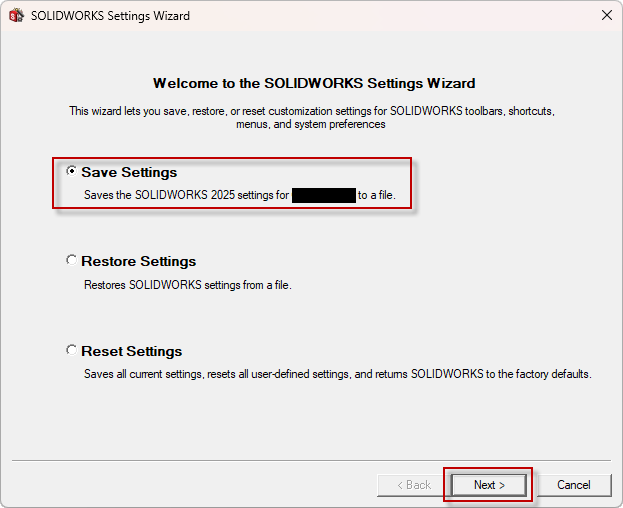
- Select the Save Settings radio button, and click Next.
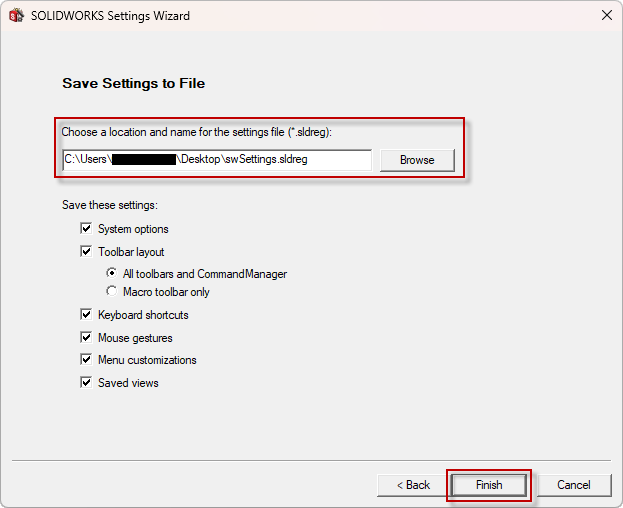
- Make sure that the location you will save your settings is somewhere accessible, whose location you will remember. The Desktop is typically a good choice. Ensure that any settings important to you are checked, and then click Finish. A window will pop up informing you that the settings were successfully saved.
If you have any data that's been saved to SOLIDWORKS's default directories, such as custom Toolbox components, document templates, custom materials, weldment profiles, etc. those will also get removed during the clean uninstall process. Make a backup of those beforehand if you wish to keep them.
To Create a Backup of Your Other SOLIDWORKS Customizations,
- Open SOLIDWORKS and navigate through: Tools > Options > System Options > File Locations then select whichever customizations you wish to keep. For example, if I had created any custom part/assembly/drawing templates, I would need to back up the folder listed in the “Document Templates” folder.
<Image of file path described> - Repeat this process for every item you don't want to lose. If data is shared on a network drive, this process may not be necessary, assuming all customer/user defined data is already on the network.
You can now safely proceed to the uninstall and Reinstall.
To Install SOLIDWORKS Design with Serial Number Add-Ins:
- Open the Compass menu and locate the Solidworks Design app. Click the drop-down arrow, then click Install Now.
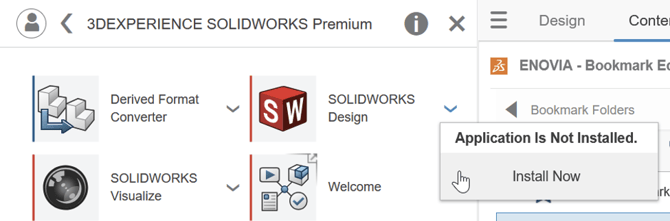
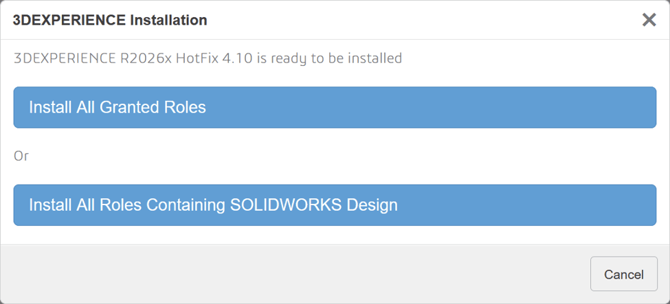
- Click Install All Granted Roles. Either button works fine, but All Granted Roles is the better one to default to.
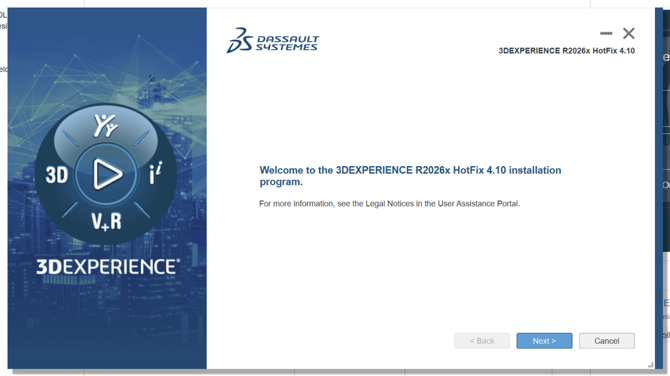
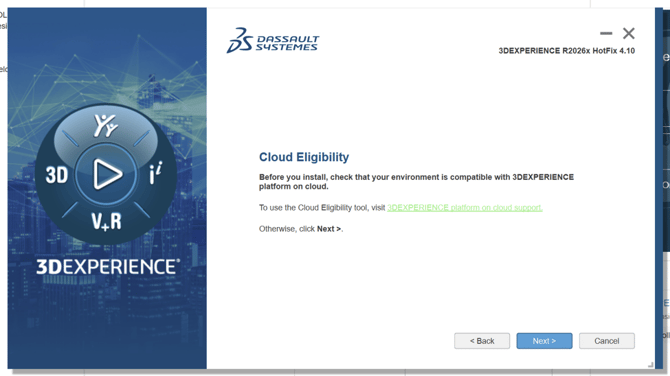
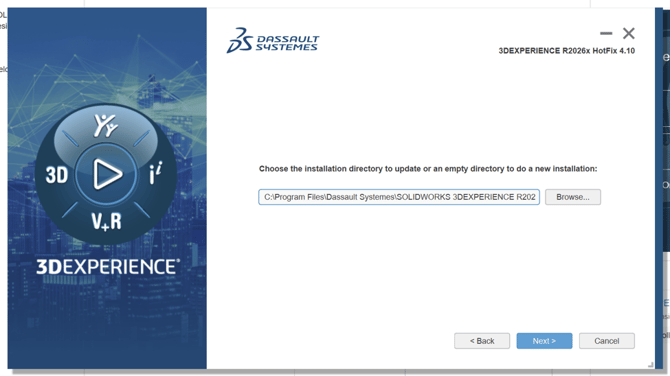
- Once the installer opens, click Next through the first several pages, stopping on Install SOLIDWORKS Add-ins. Leave the default settings for anything that you don't specifically need to change.
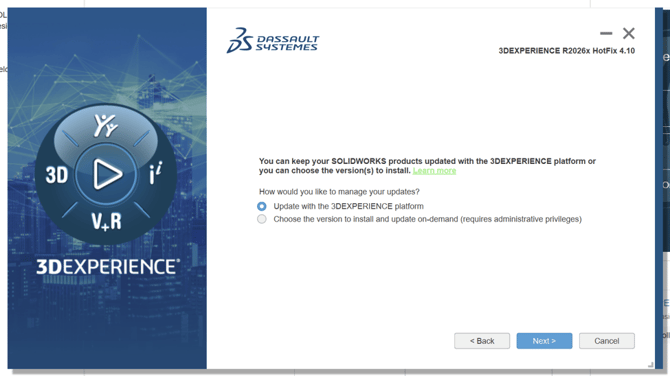
- Select the Check Box for any Add-Ins for which you have a serial number. Then click Next
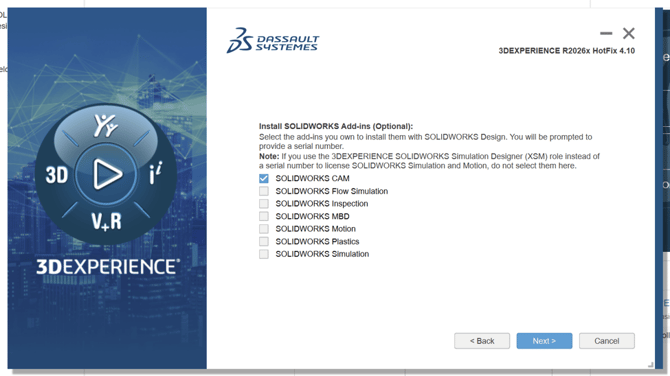
- Add your serial number to any lines provided on this page, then hit Next
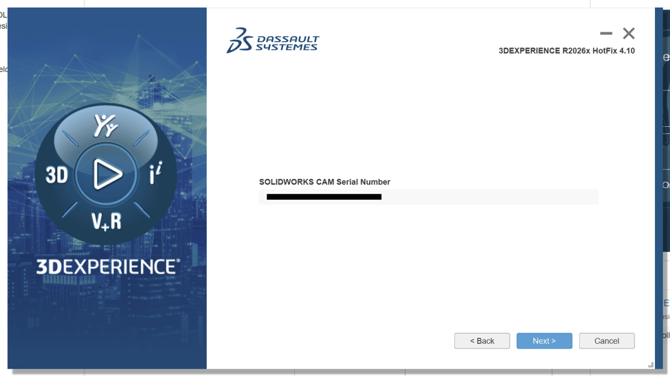
- Feel free to add another language if you wish, otherwise click Next.
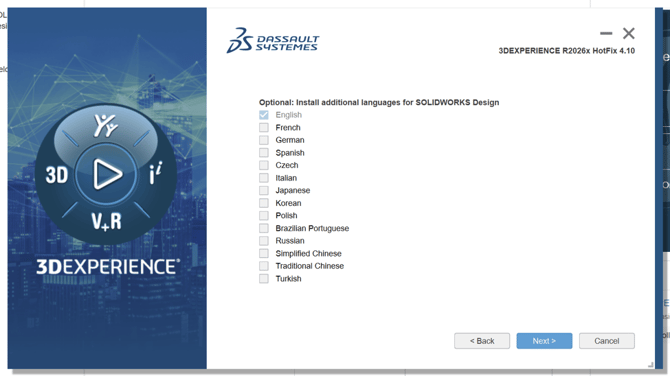
- Click Next through here too. Default settings are usually best for this one.
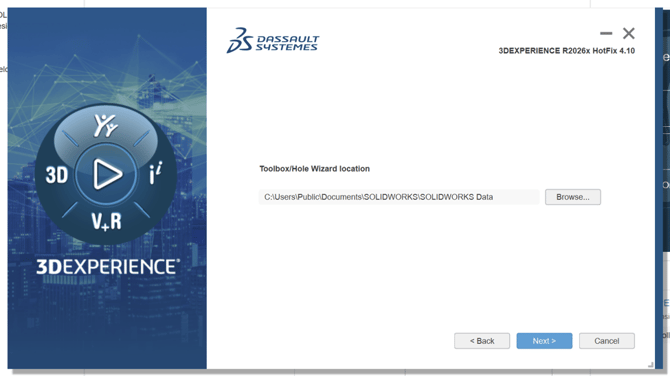
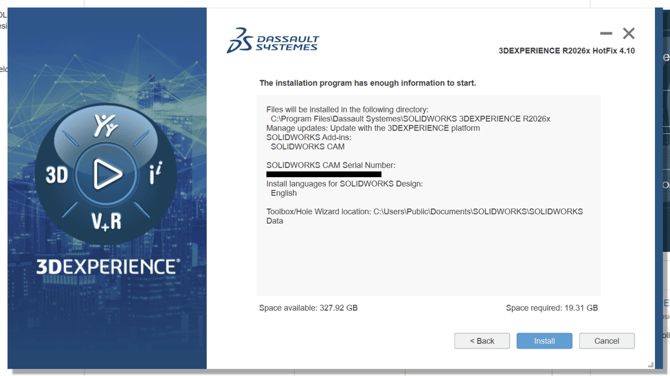
- Finally, click Install.
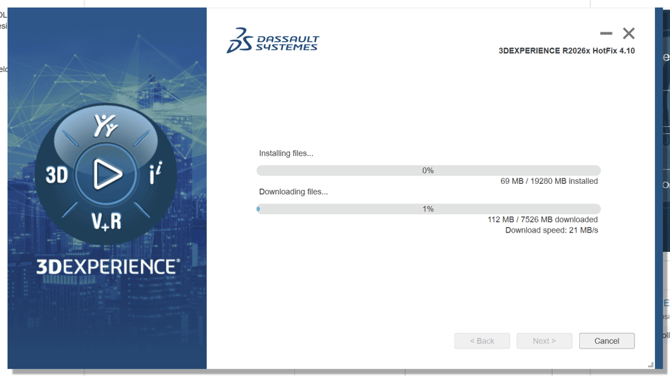
- It will run through the usual installation process. This can take a few minutes to a few hours, depending on your computer's hardware and internet connection. Once it's done, Restart your computer.
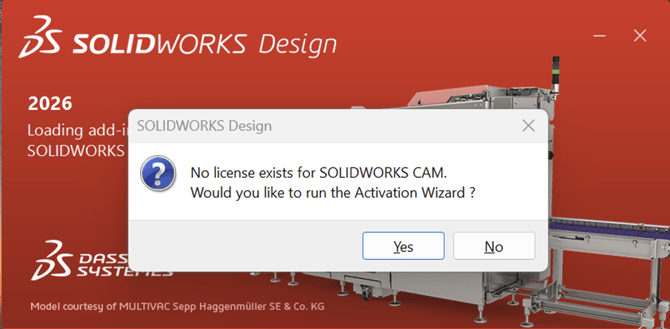
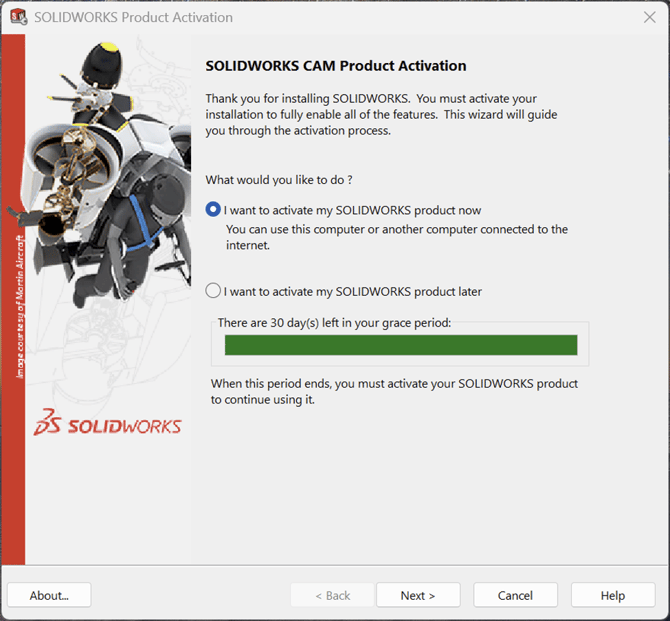
- Once your computer opens back up, Launch SOLIDWORKS either from the Platform or form a desktop icon. Click Yes to run the Activation Wizard when it gives you the option to do so.
- Keep "I want to activate my SOLIDWORKS product now" selected, and hit Next.
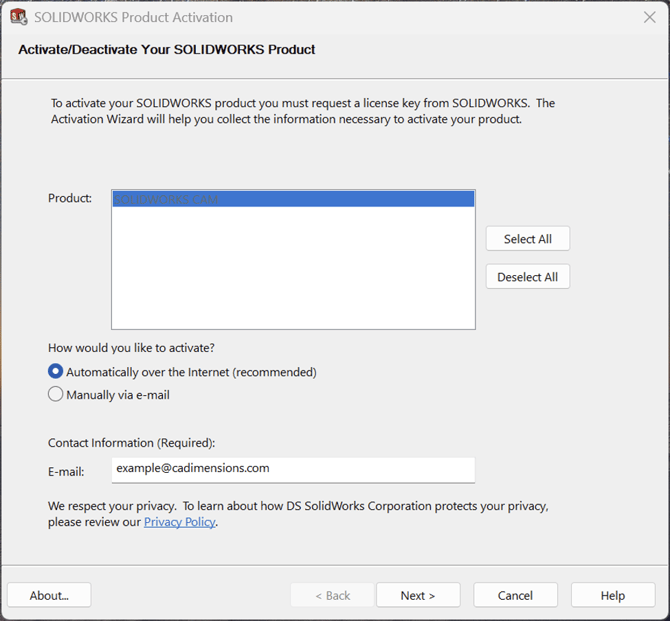
- Click Select All, ensure all Serial Numbers are highlighted, ensure that Automatically over the Internet is selected, Add your email address, and then click Next.
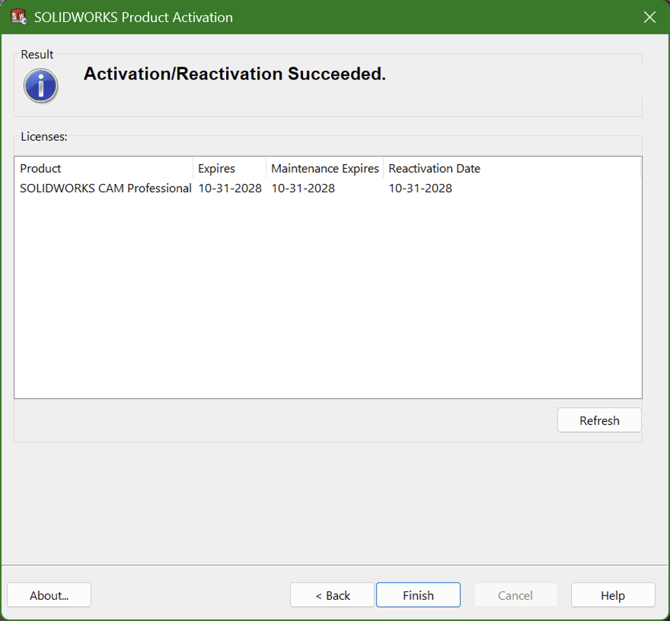
- Once the activation has completed, hit Finish.
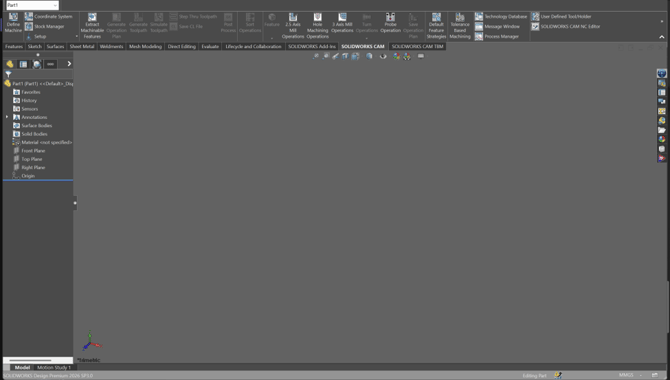
- Now, when you launch SOLIDWORKS, you should have access to whichever add-ins you just installed!
If you run into any questions or concerns throughout the process, please feel free to put in a Support Ticket. We would be happy to assist you however we can.