
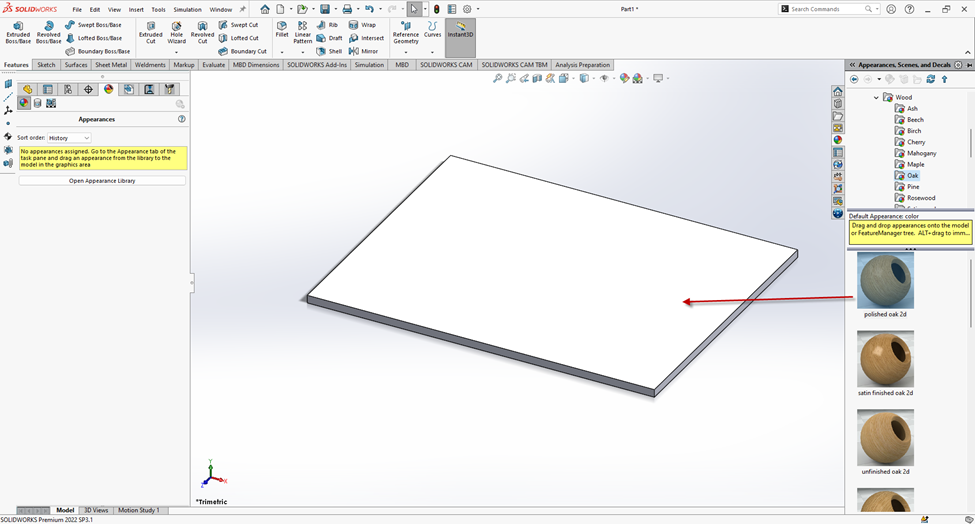
Start by dragging an existing appearance onto the part you wish to change the appearance of. I recommend choosing one with a bit of texture off the bat, so you don’t have to modify this later if need be.
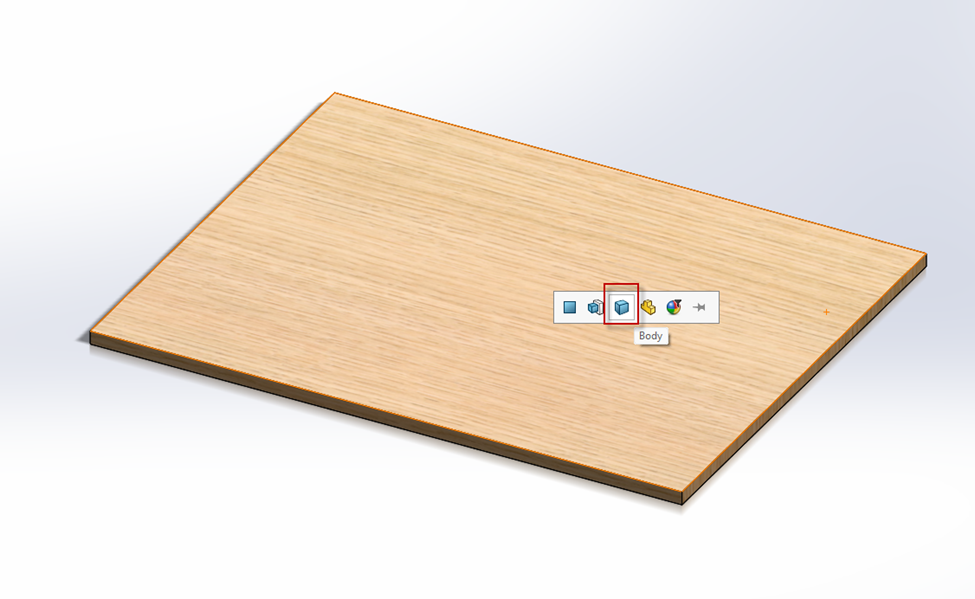
I selected Body in this case, to modify the appearance of the body. You can select a different selection here if it applies. Mouse over each option to see what they do.
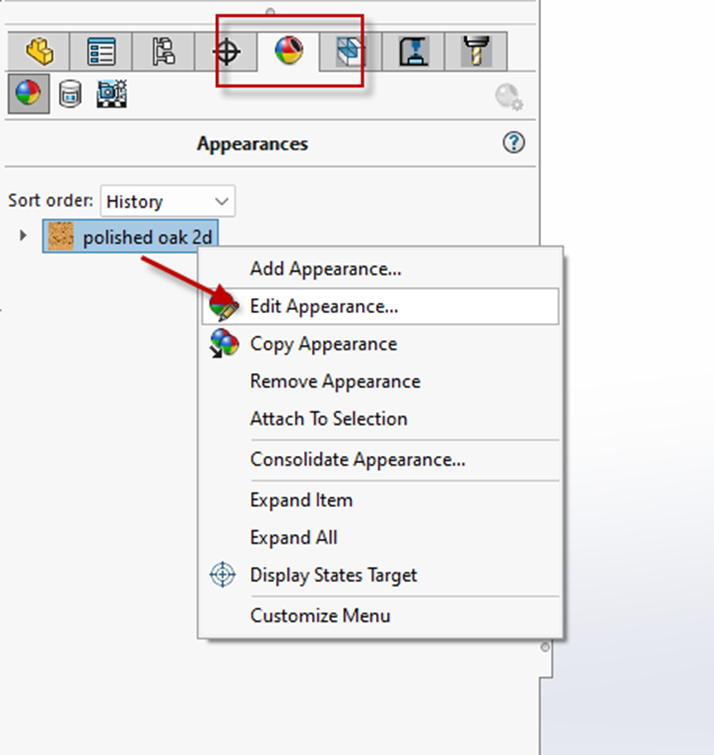
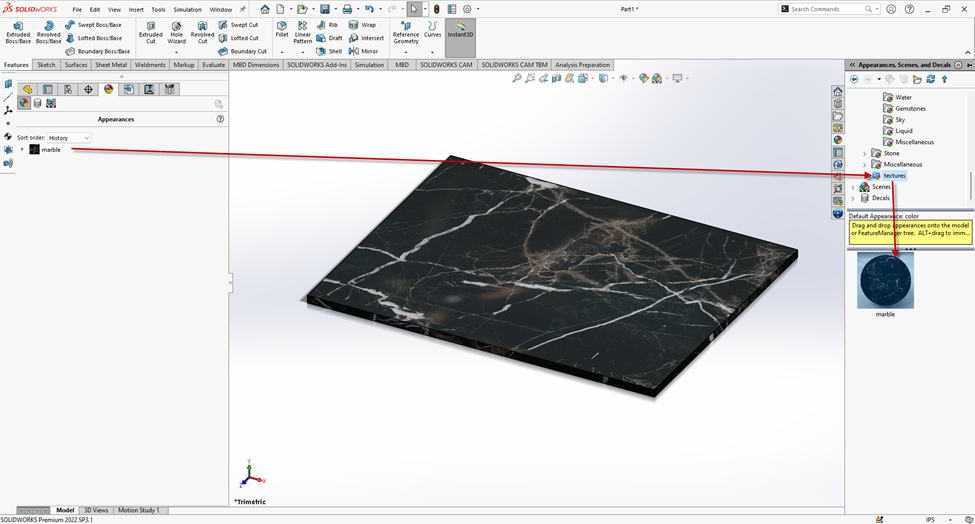
Go to the Appearances tab on the FeatureManager tree. Right click the appearance you just added, and select “Edit Appearance”
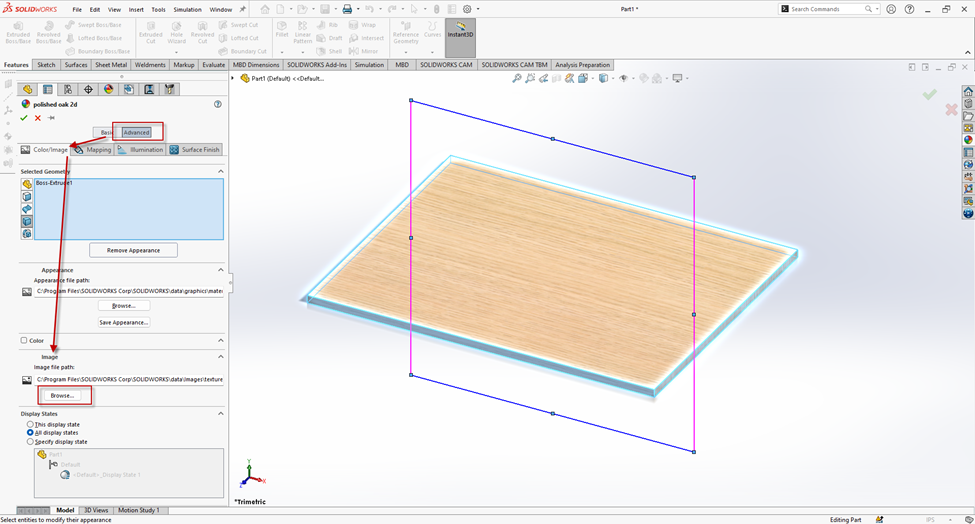
Make sure you are on the advanced tab. Scroll down and look for “Browse” underneath Image file path
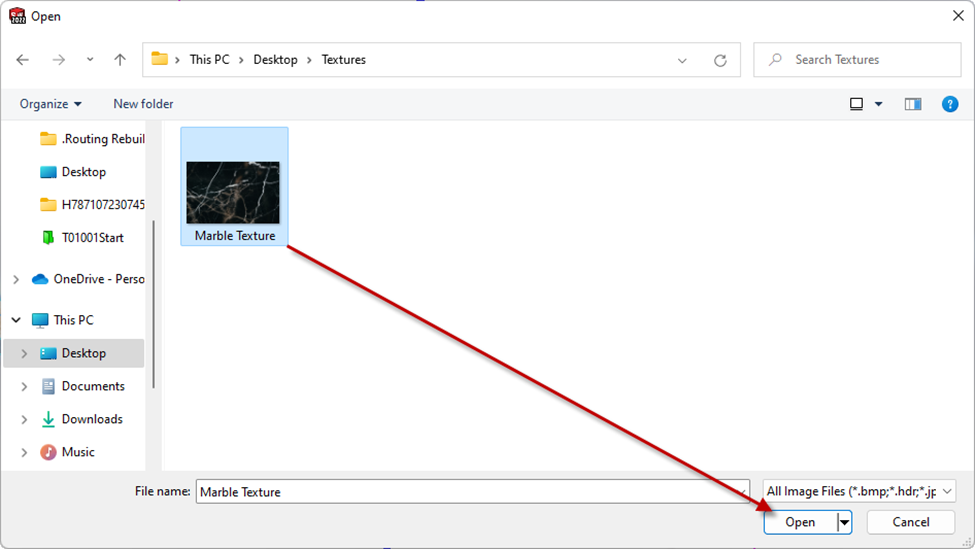
Navigate to the image file you want to have as an appearance. Select it, and press Open.
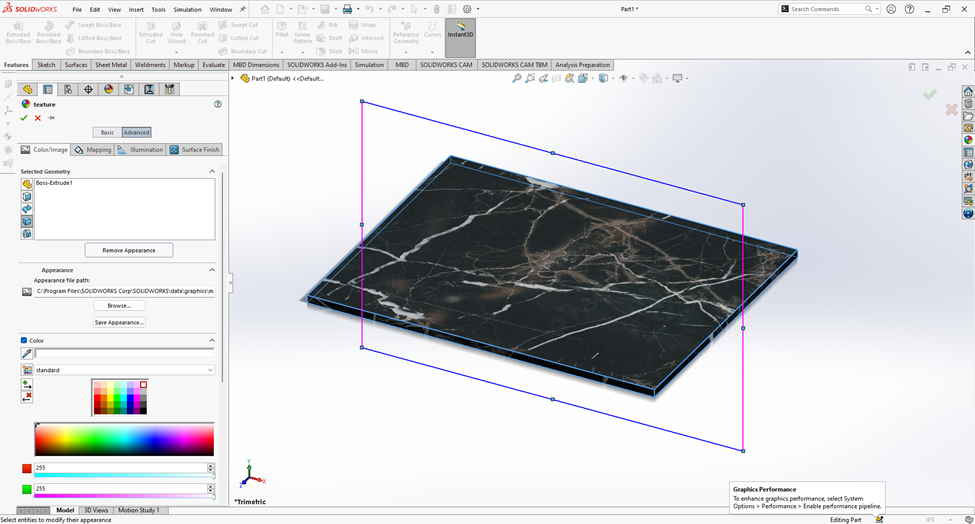
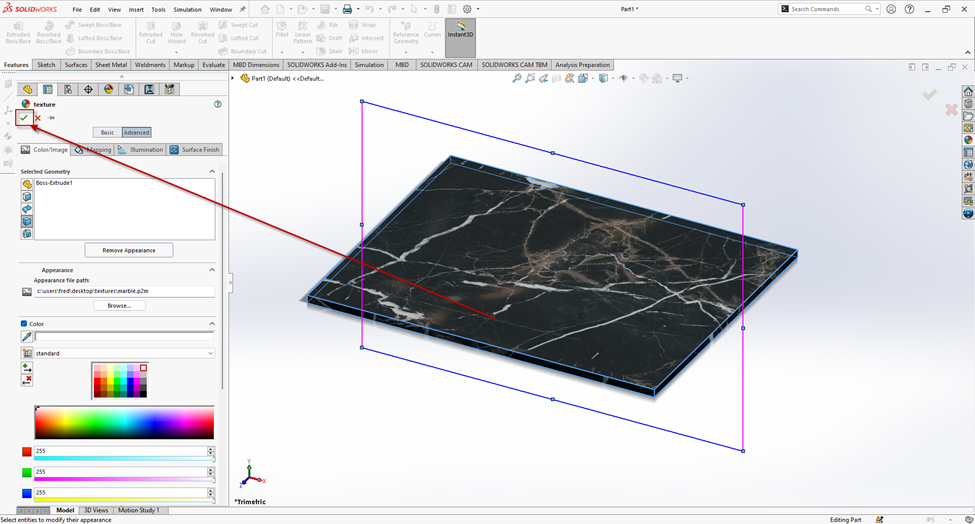
Adjust as necessary. The blue and pink box controls the size of the texture. You can adjust color overlays if need be. In this case, I want to keep it white. I had to make my appearance a little bigger.
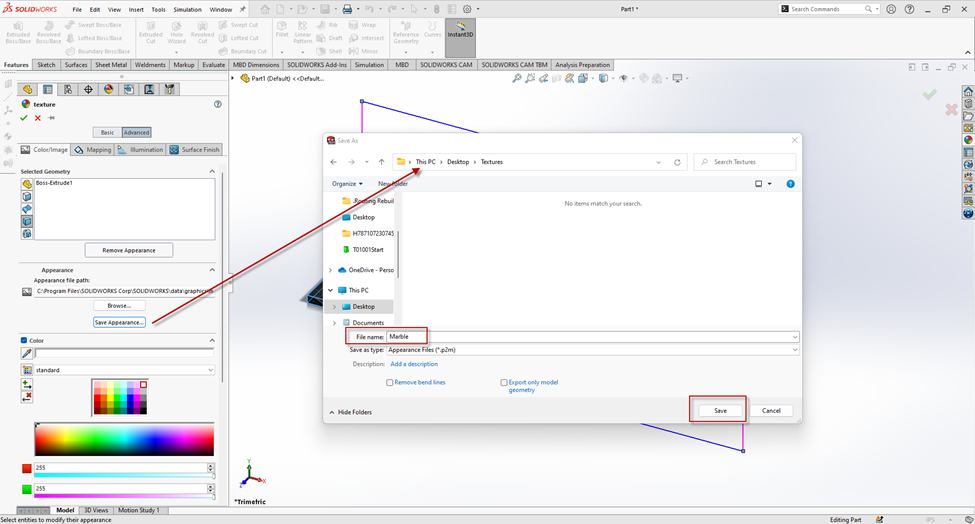
Then press “Save Appearance…”. You can save this wherever you'd like. Since this is a custom appearance for me, I’m going to save it back into the Textures folder. It will save as a .p2m, which is the appearance native file. Give it a name, and press Save.
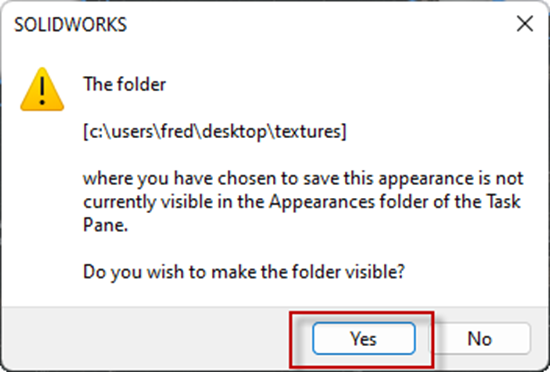
If you do not save to an existing location that SOLIDWORKS determined contains your appearances, you will get the following warning. Press Yes, if you would like to see it living in the menu we pulled the initial appearance from.
Go on back and press the check mark.
Now you have a custom appearance that will appear inside of the manager on the right!
That is all! Enjoy your new appearances!