
Before we get started – You’ll need the following
- Computer must meet minimum requirements as defined in the SOLIDWORKS System Requirements
- Administrative access
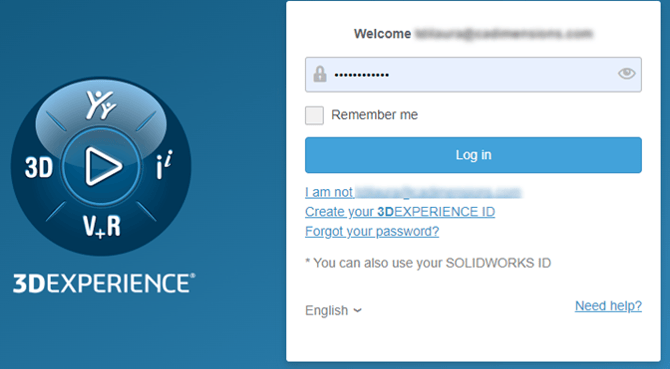
- You will need a 3DEXPERIENCE Passport. If you previously held a Customer Portal account, your login and password information will be the same.
Downloading required installation files
- Log into the SOLIDWORKS Support Download page https://www.solidworks.com/support/downloads

- Scroll down (if necessary) and select Download, on the version you wish to download. If you need a previous version, you can select the dropdown. SOLIDWORKS allows downloads for the previous 3-4 major versions. If you need a version older than that, contact us to request it.
Note: Network licenses are backwards compatible. It's recommended to update to the latest version possible, even if your clients are on an older version. A server activated on say, 2026, can hand out licenses for 2025, 24, and so on all the way back to 2007 (although, a 20-year gap is not recommended).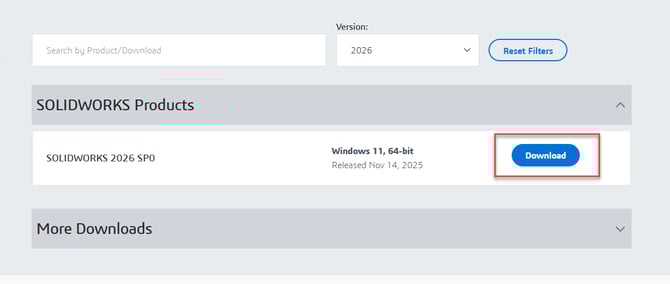
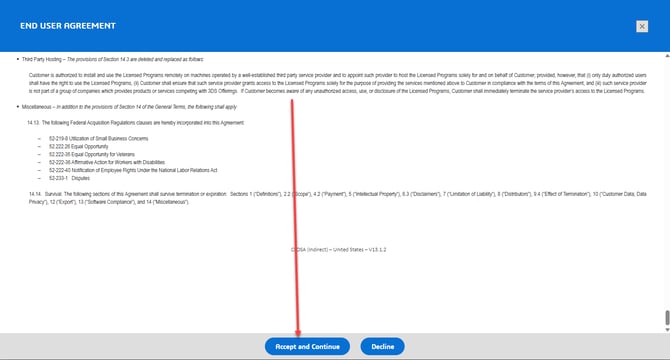
- Scroll to the bottom and accept the Customer License Agreement
- Locate SolidWorksSetup.exe (This will typically be in your Windows “Downloads” folder) Right click on “SolidWorksSetup.exe” and choose “Open” or Double click to launch

Deactivate the License (Optional)
This step is not mandatory. If you are upgrading the license server mid-production, or during operating hours, it's recommended that you attempt to upgrade and if you get activation failures to reach out to us ASAP. Otherwise, if you are upgrading during off hours or downtime, it's recommended to deactivate the license before- Launch the SOLIDWORKS SolidNetwork License Manager Server from the Start Menu.
- Select the Server Administration Tab > Modify and then choose Transfer a software license.

- You will be asked if you want to transfer over the internet or through email. It is recommended that you choose Automatically over the Internet.

- Once the process has completed, a dialog box will appear with the result Transfer Succeeded. Click Finish.
Update to New Version and/or Service Pack
- Locate SolidWorksSetup.exe (This will typically be in your Windows “Downloads”folder)
- Right click on “SolidWorksSetup.exe”and choose “Run as administrator”
- Choose where to extract the files. Be sure to check “When done unzipping open:”to auto launch the Installation Manager

- Choose “Install SolidNetWork License Manager”

- If all looks correct on the Summary, accept the License Agreement and select “Download and Install”

- Installation is complete. Please choose if you would like to join the SOLIDWORKS Customer Experience Improvement Program.

Activate the SolidNetwork License Manager
- Launch the SOLIDWORKS SolidNetwork License Manager Server from the Start Menu.

- If not prompted to activate, go to the Server Administration Tab, choose Modify, and then Activate/Reactivate. Take note of the server name and port number. If there’s a firewall on the server, be sure to check the box and leave the default port number. Click Next.

- You will be asked if you want to activate over the internet or through email. It is recommended that you choose Automatically over the Internet.
- Once the process has completed, a dialog box will appear with the result Activation/Reactivation Succeeded. Click Finish.

Not working like it should?
If things didn’t go as planned when registering your account, please contact CADimensions Technical Support for further assistance.
If you have an existing case, please contact the Application Engineer you are working with; otherwise submit a new case online.